Custom Thumbnails
We've worked hard to give Filecamp a slick and user-friendly interface. However, it may be useful to add visual cues for your files and folders.
Add a custom thumbnail to a file or folder
To upload a custom thumbnail to a file or folder, you can either open the folder and click the Info ![]() icon in the Toolbar, or select Info
icon in the Toolbar, or select Info ![]() from the Three Dots Menu
from the Three Dots Menu ![]() below the file or folder.
below the file or folder.
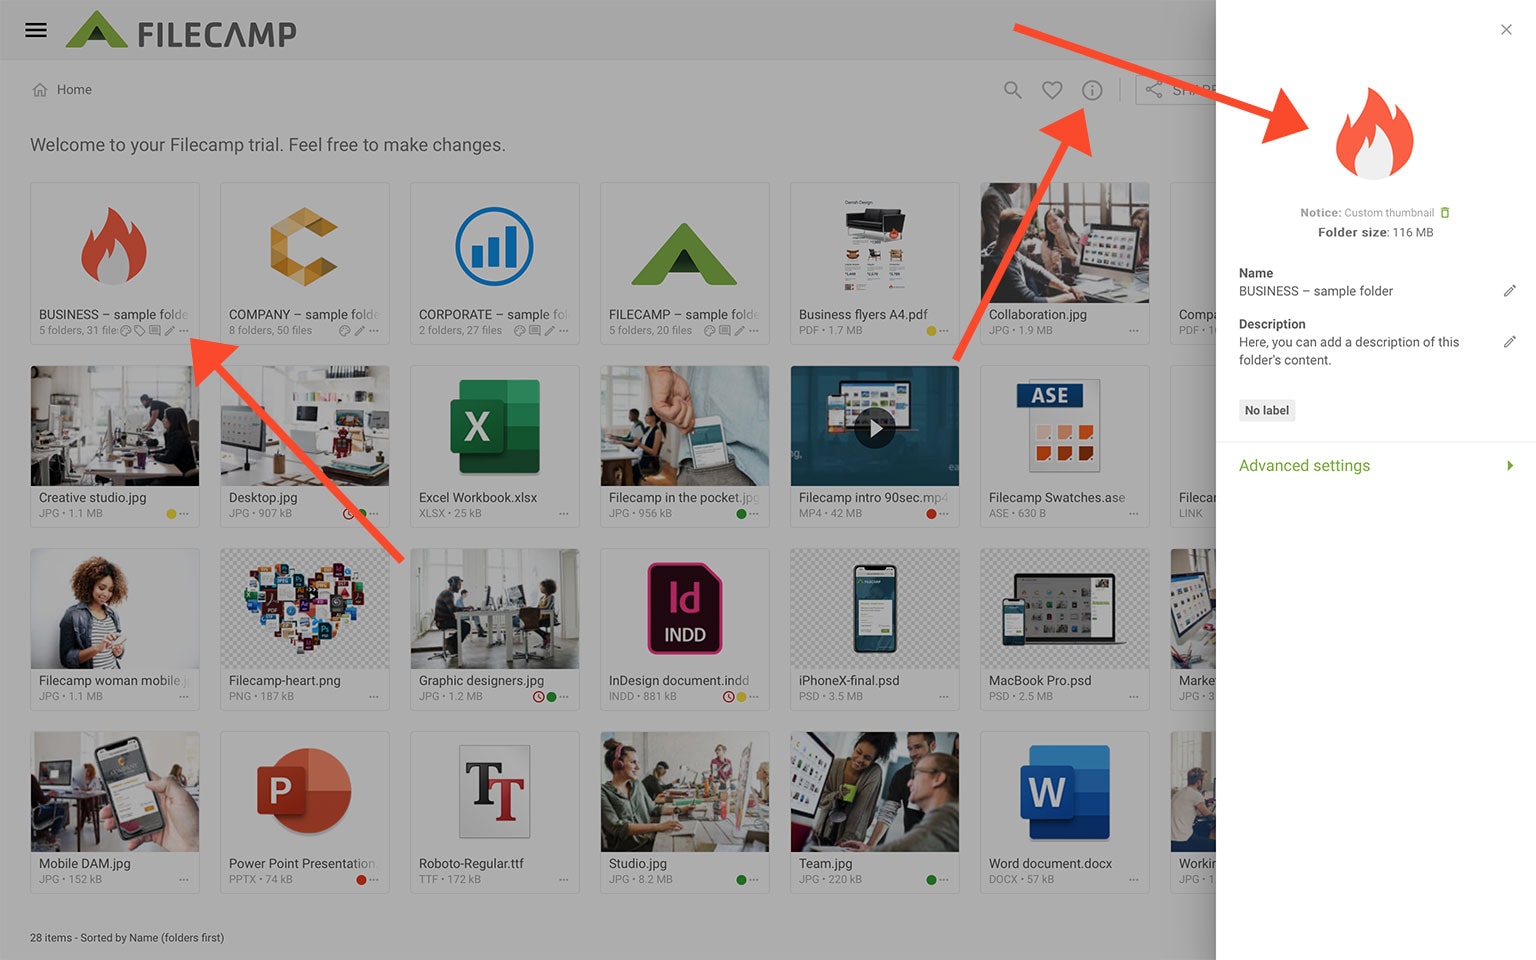
This will open the Infobar ![]() where you can click on the thumbnail to upload a new image file. This image will now be the new thumbnail for this specific file or folder.
where you can click on the thumbnail to upload a new image file. This image will now be the new thumbnail for this specific file or folder.
Remove custom thumbnail from a file or folder
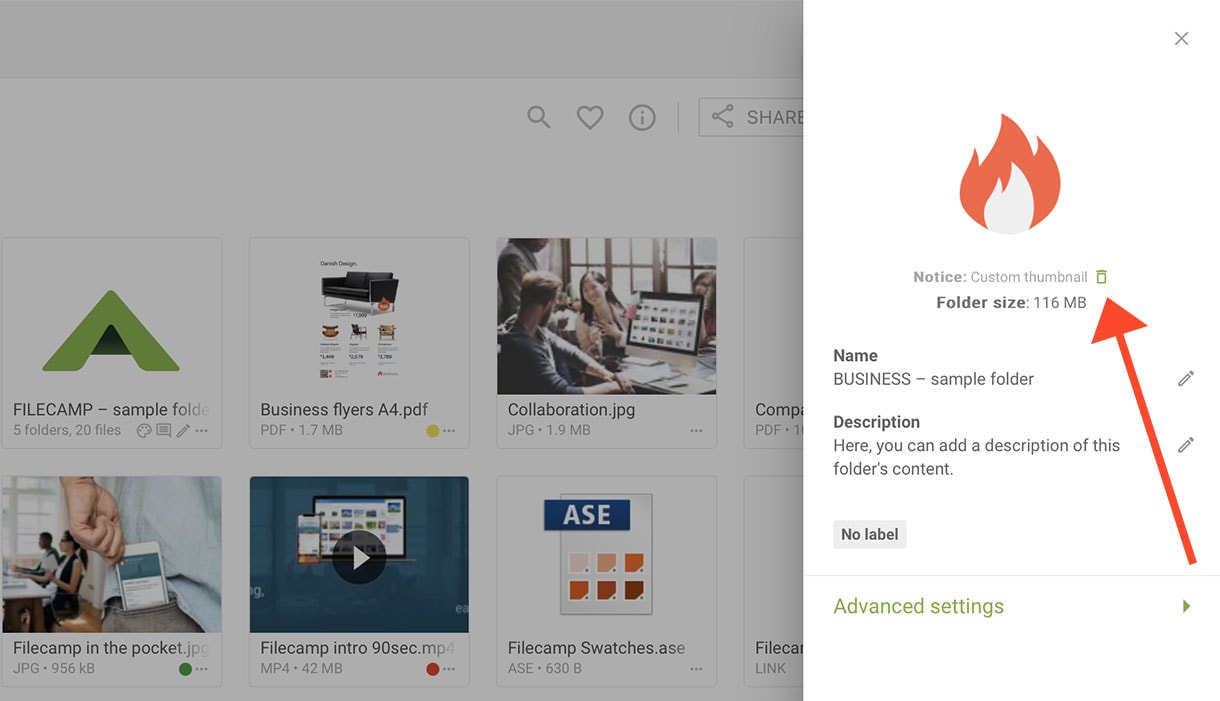
To remove a custom thumbnail from a file or folder, click on the small trash icon![]() below the thumbnail. This will reset the thumbnail to the default file or folder thumbnail.
below the thumbnail. This will reset the thumbnail to the default file or folder thumbnail.
TIPS:
- Custom Thumbnails are visual guides added to your files and folders in the Gallery and List view, your original files remains untouched.
- Choosing a still for video files is an excellent way to make a custom thumbnail.
- When you update a version of a file that has a custom thumbnail, you need to update the thumbnail as well.
- Upload your thumbnails at exactly 336 × 240 px to avoid scaling or cropping.
- Screenshots are a simple way to create your own custom thumbnails. See how to take screenshots on PC and Mac.
Notice: Custom Thumbnails can only be added to files that do not have a thumbnail, meaning you cannot add custom thumbnails to images, pdf files, and the like.
Related articles
Files
- Uploading files
- Downloading files
- Copy or move
- Delete
- Edit files
- Share file links
- Supported file types
- Version control
- Expiration
- Metadata
- Tags
- Auto tags
- Custom thumbnails